Stargazing is one of the most rewarding ways to connect with the night sky, but beginners often stumble into avoidable mistakes that can turn excitement into frustration. From choosing the wrong location to relying too heavily on equipment, these common errors can hold you back from truly enjoying the stars. In this guide, we’ll highlight the top beginner stargazing mistakes and show you how to avoid them—so your first nights under the cosmos are memorable for all the right reasons.
Mistake #1: Buying the Wrong Telescope
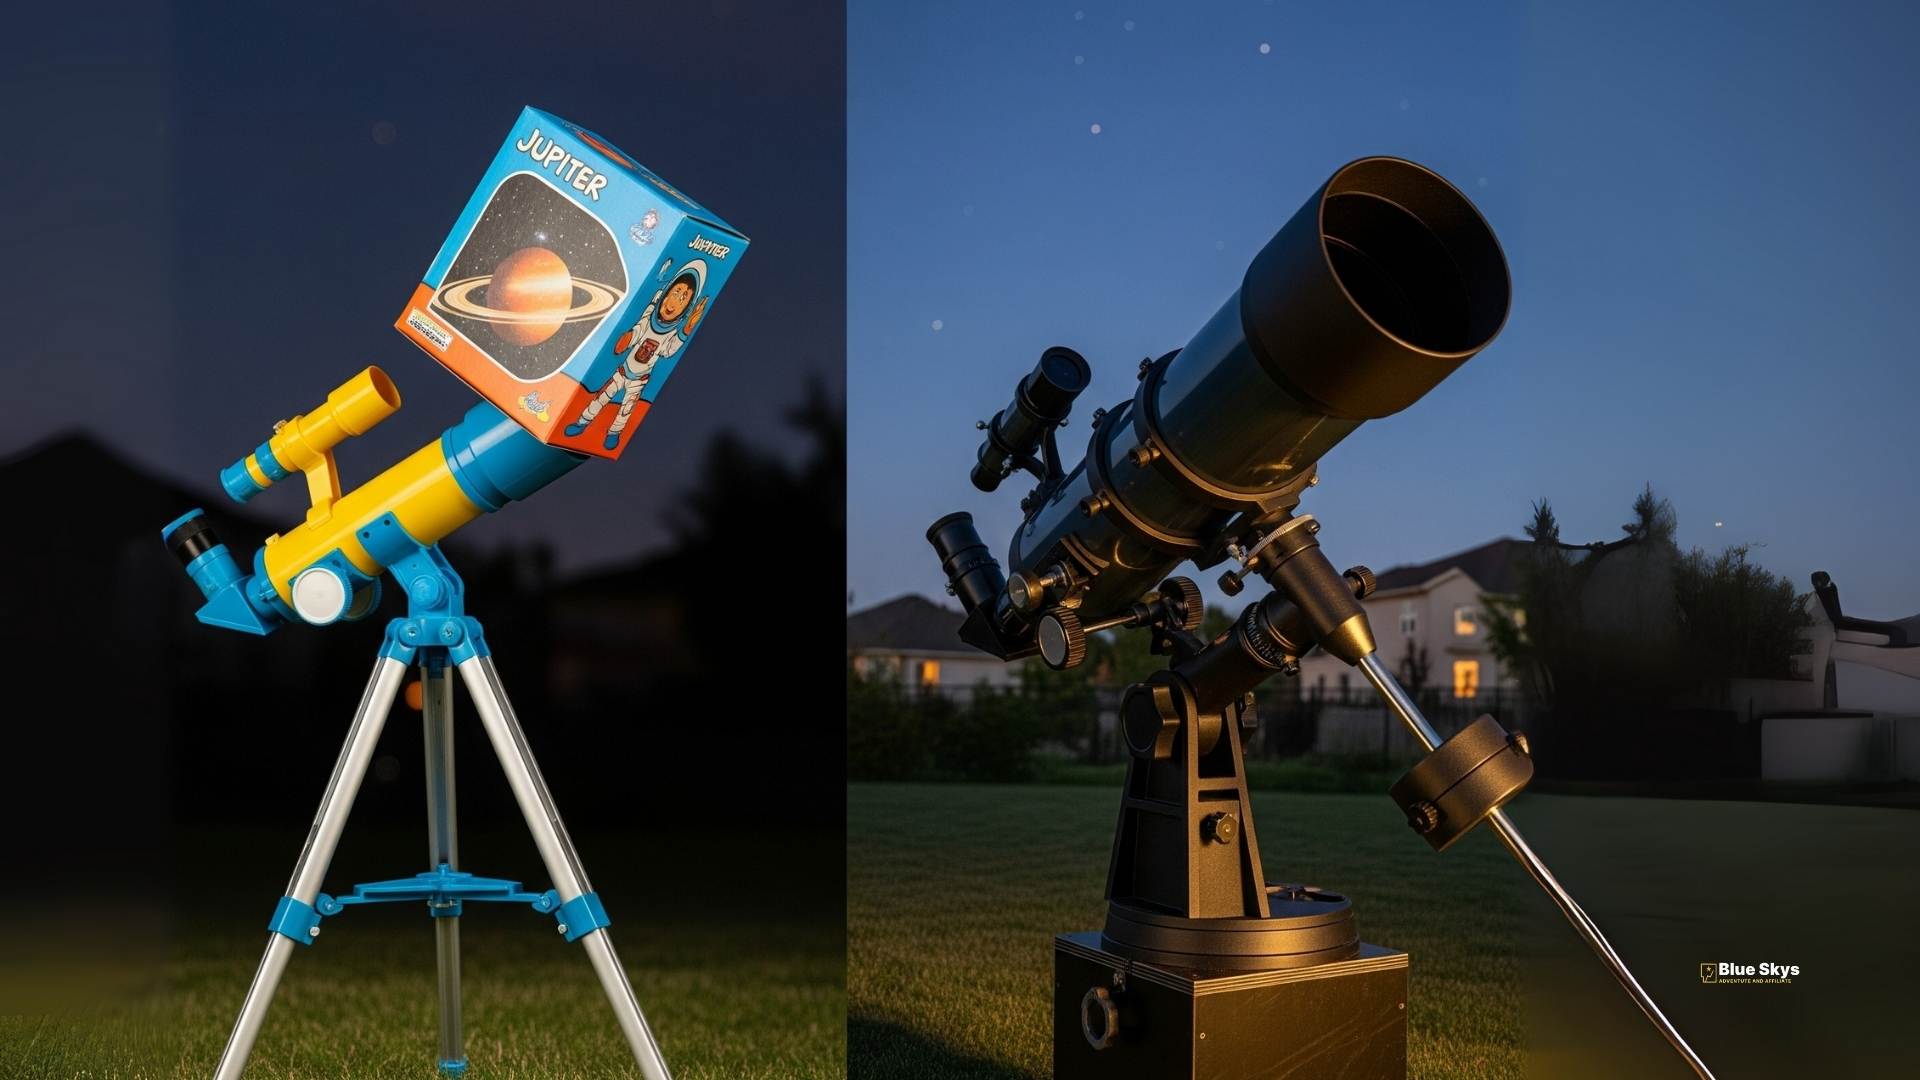
This is the most common and damaging mistake a new astronomer can make. Our simple guide to choosing your first telescope. Many beginners fall for cheap, toy-like telescopes found in department stores. These “hobby killers” are often advertised with massive magnification numbers, but they come with flimsy mounts and poor-quality optics that produce blurry, unusable images.
The Fix: Don’t buy any telescope that promises “300x power!” on the box. Instead, focus on reputable brands and solid mounts. The best telescope for beginners is the one you will actually use. If a telescope is too difficult to set up or gives blurry views, it will quickly end up collecting dust.
Mistake #2: Obsessing Over Magnification
This is a direct result of the first mistake. As a new stargazer, it’s natural to think that higher magnification means a better view. Unfortunately, that’s not true. Check out our definitive buyer’s guide to understanding telescope specs. High magnification in a small telescope spreads out the light, resulting in a dim, blurry, and unsatisfying image.
The Fix: Focus on aperture, not magnification. The aperture (the diameter of the main lens or mirror) is the telescope’s light-gathering power. A telescope with a larger aperture will show you far more detail at a lower magnification than a small telescope will at a very high magnification.
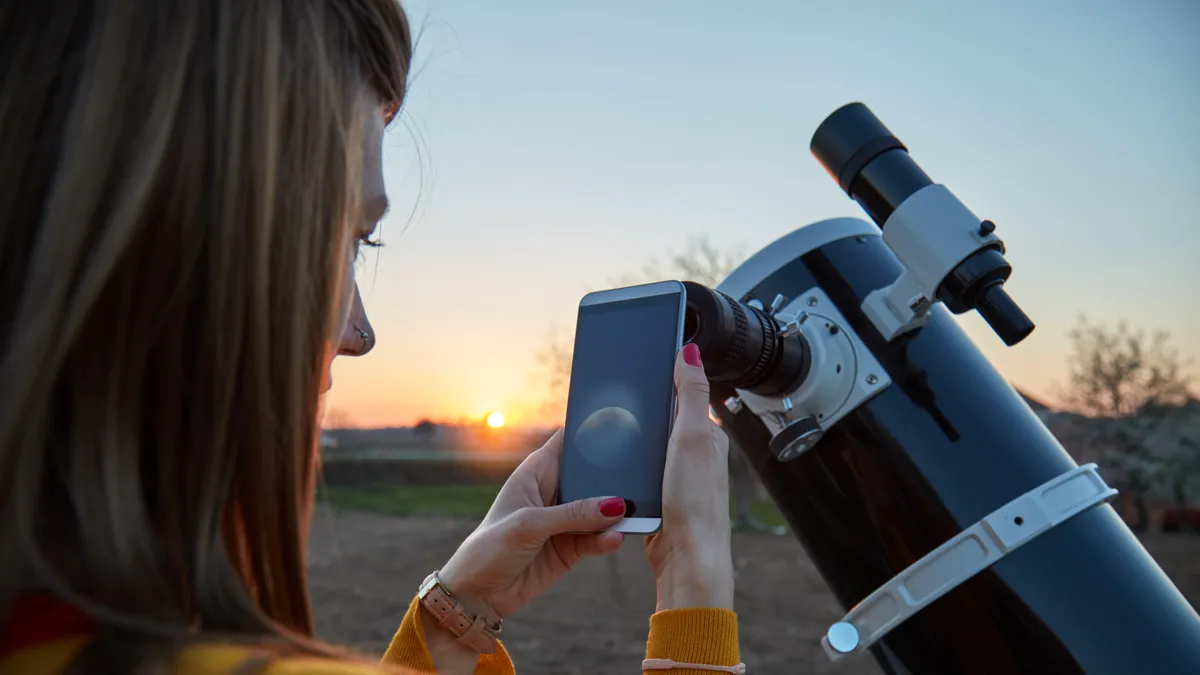
Mistake #3: Underestimating the Mount
A telescope’s mount is its foundation. A great telescope on a wobbly, shaky mount is completely useless. Every time you touch the telescope to aim it, the image will shake, making it impossible to focus on a planet or star.
The Fix: Invest in a solid, sturdy mount. For visual observing, a simple and rock-solid Dobsonian mount is an excellent choice. If you’re buying a tripod-based telescope, make sure the tripod is made of steel, not aluminum, and that the mount is designed to move smoothly without shuddering.
Mistake #4: Expecting “Hubble-Quality” Views
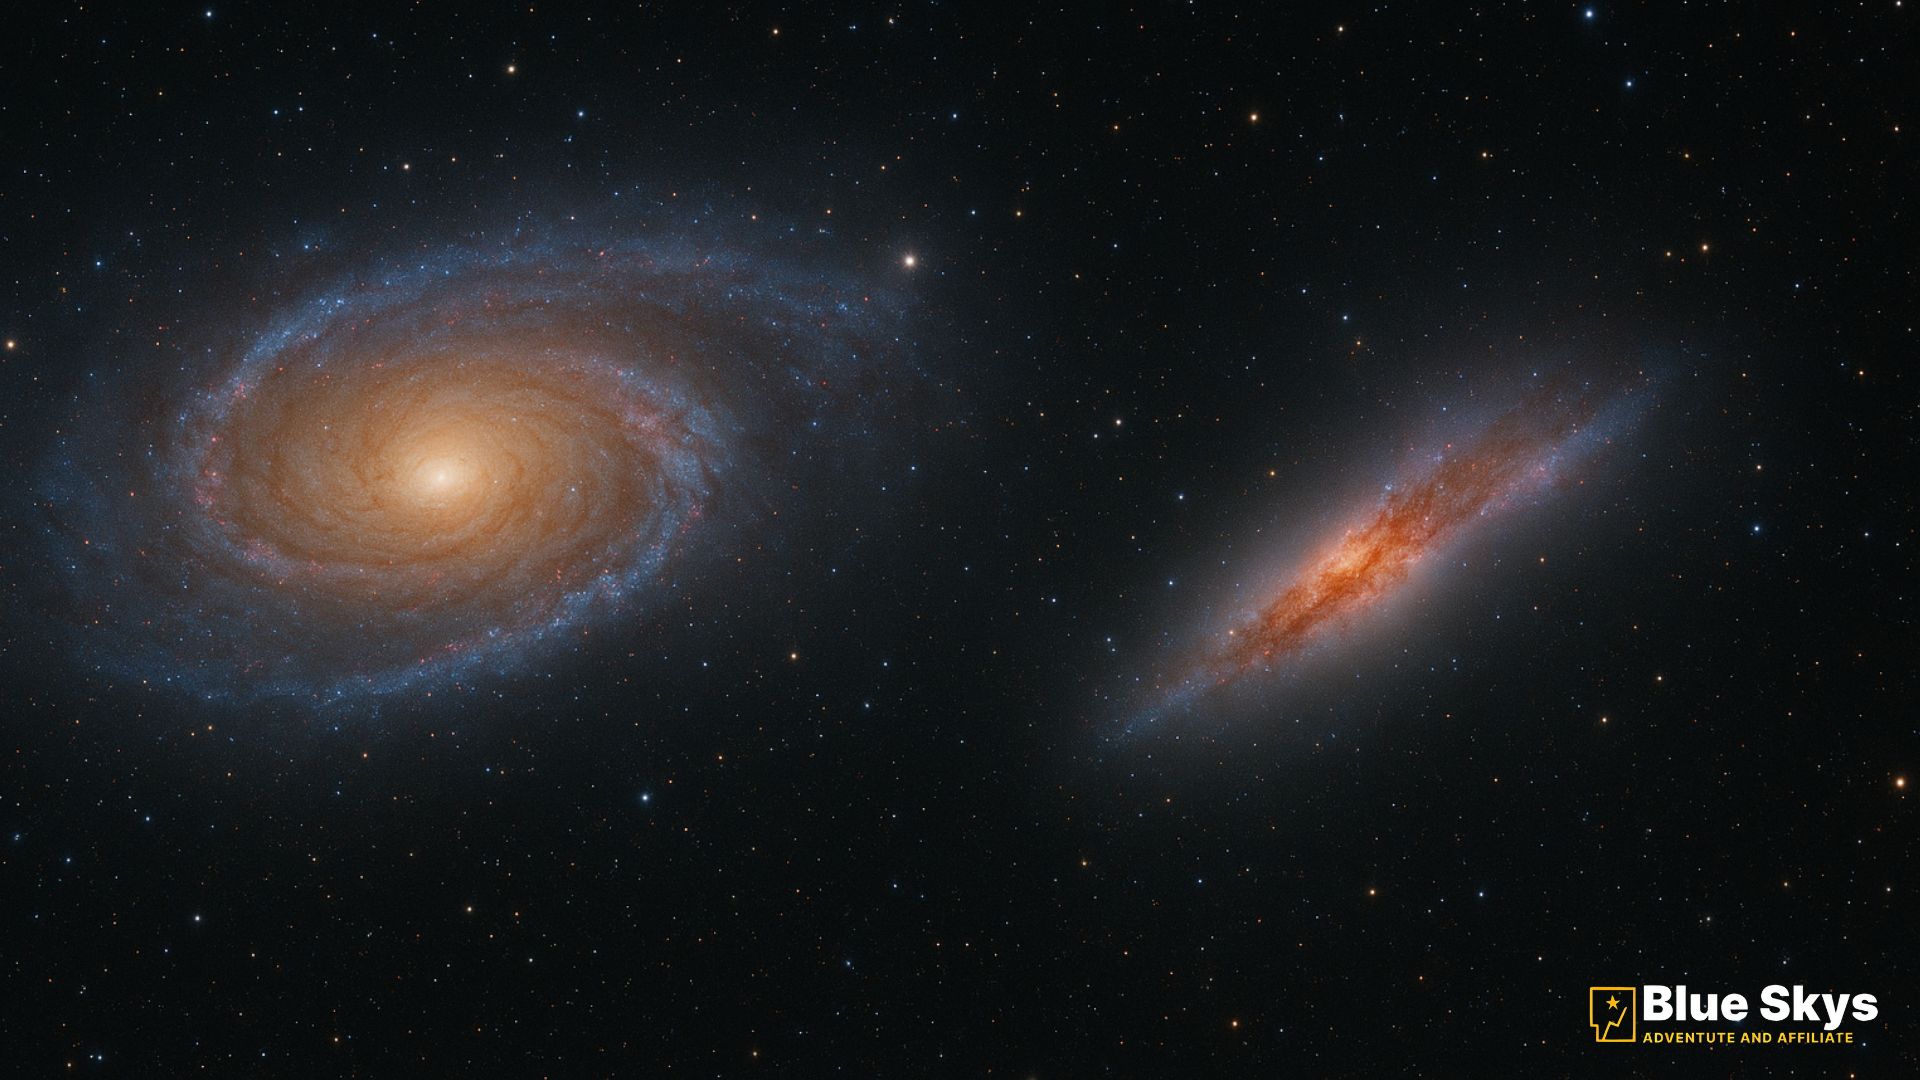
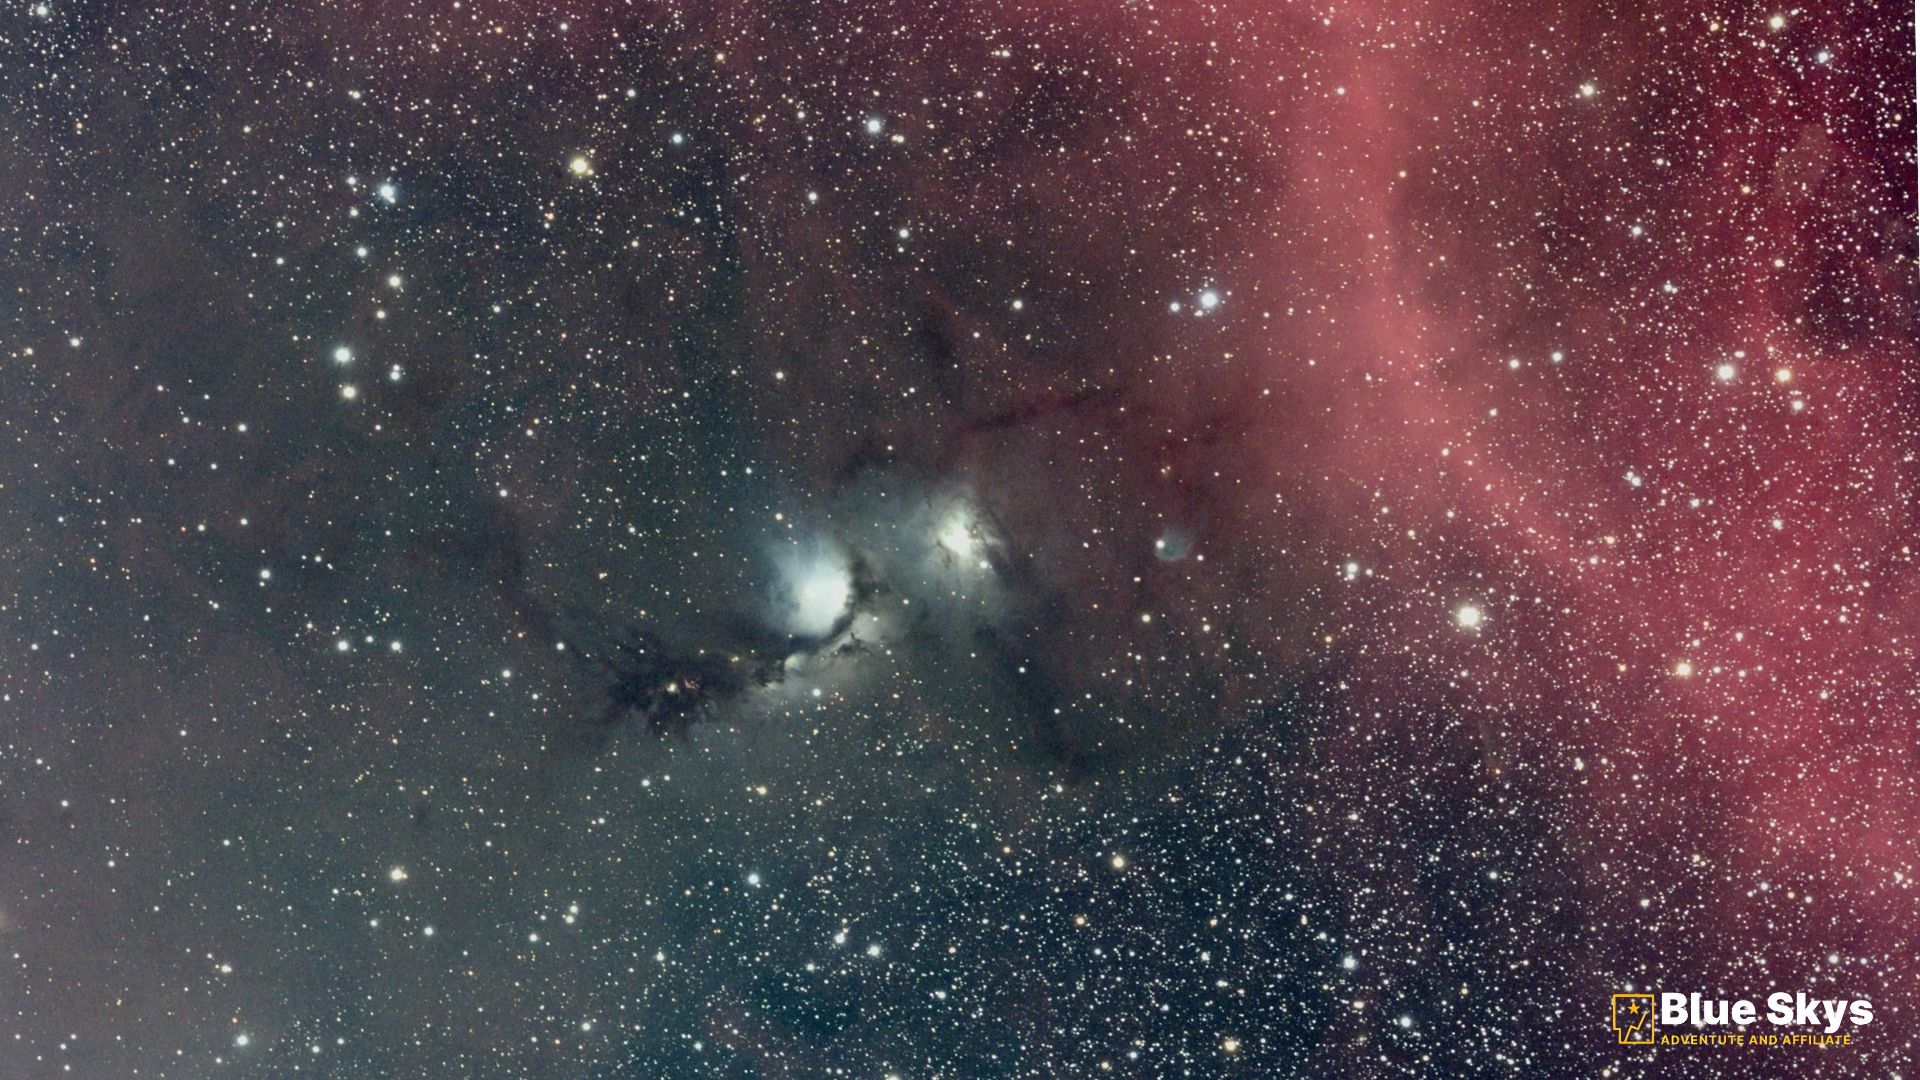
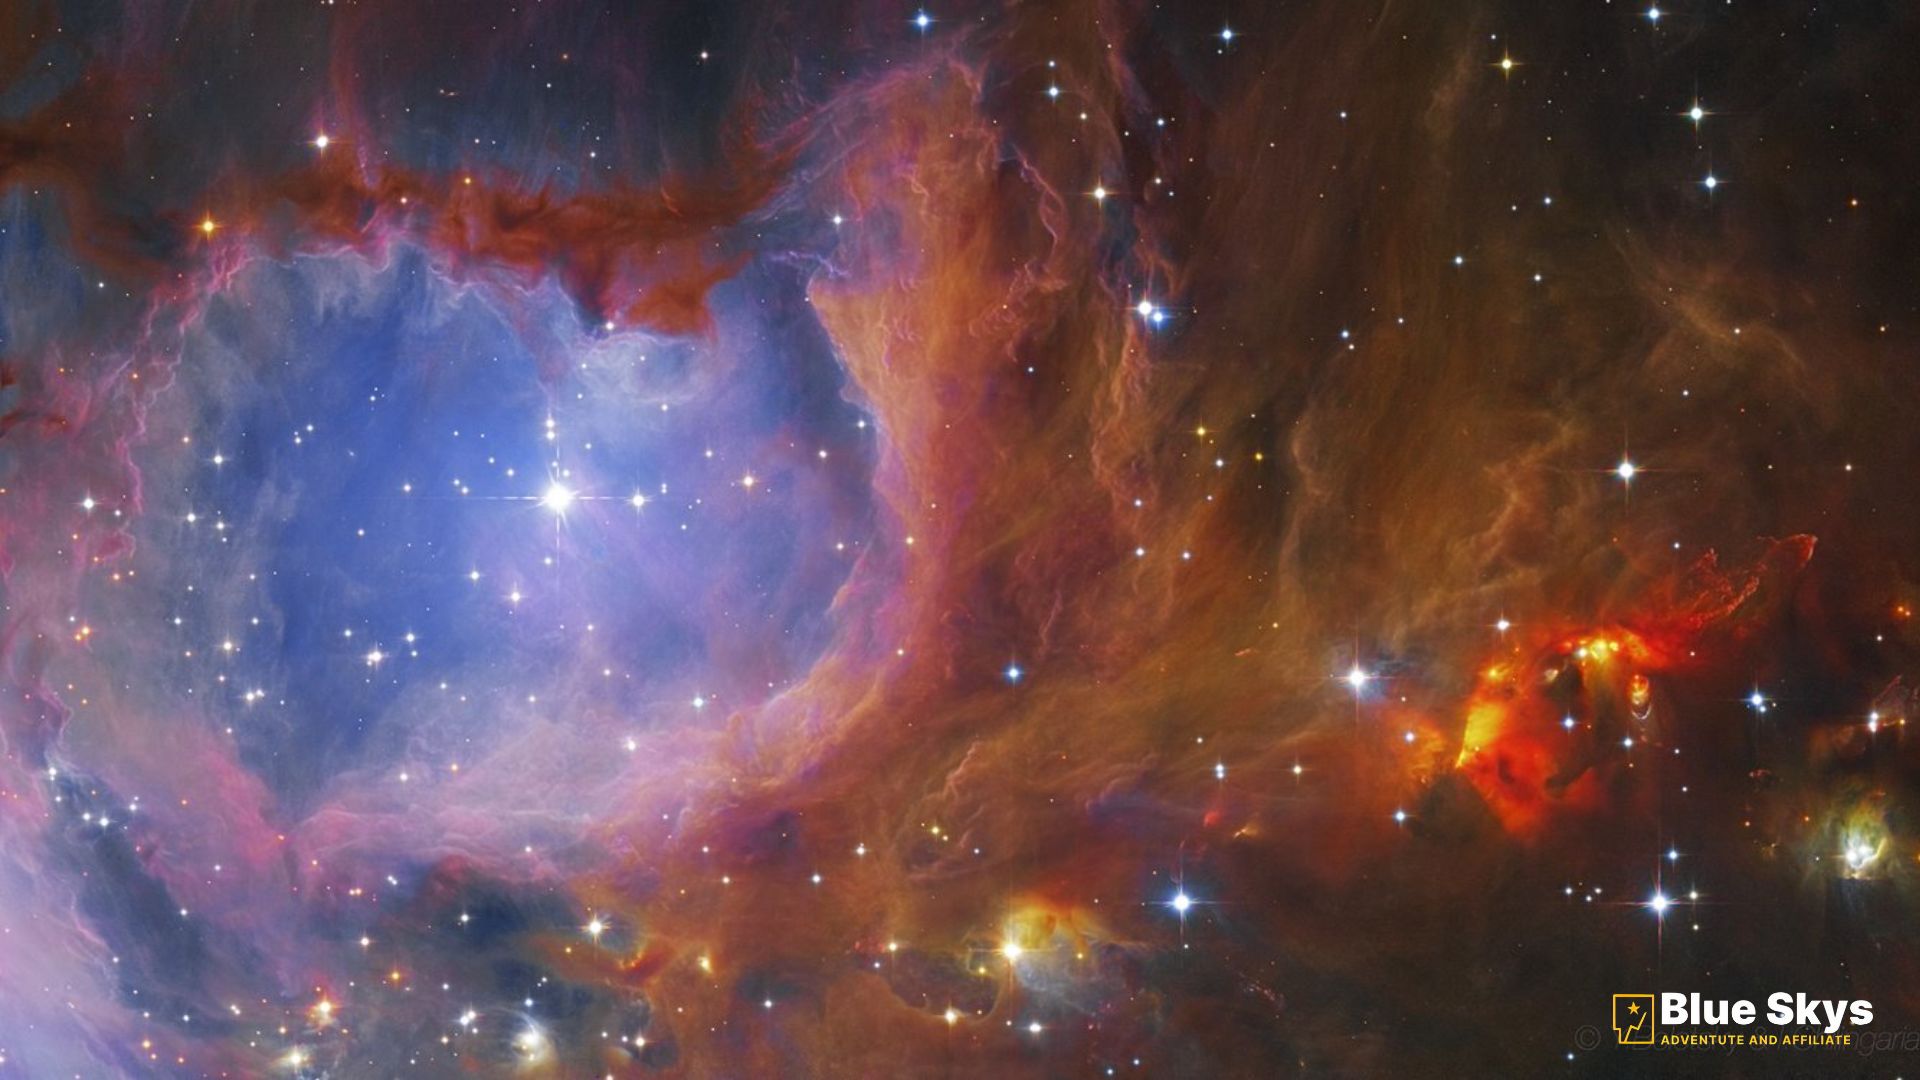
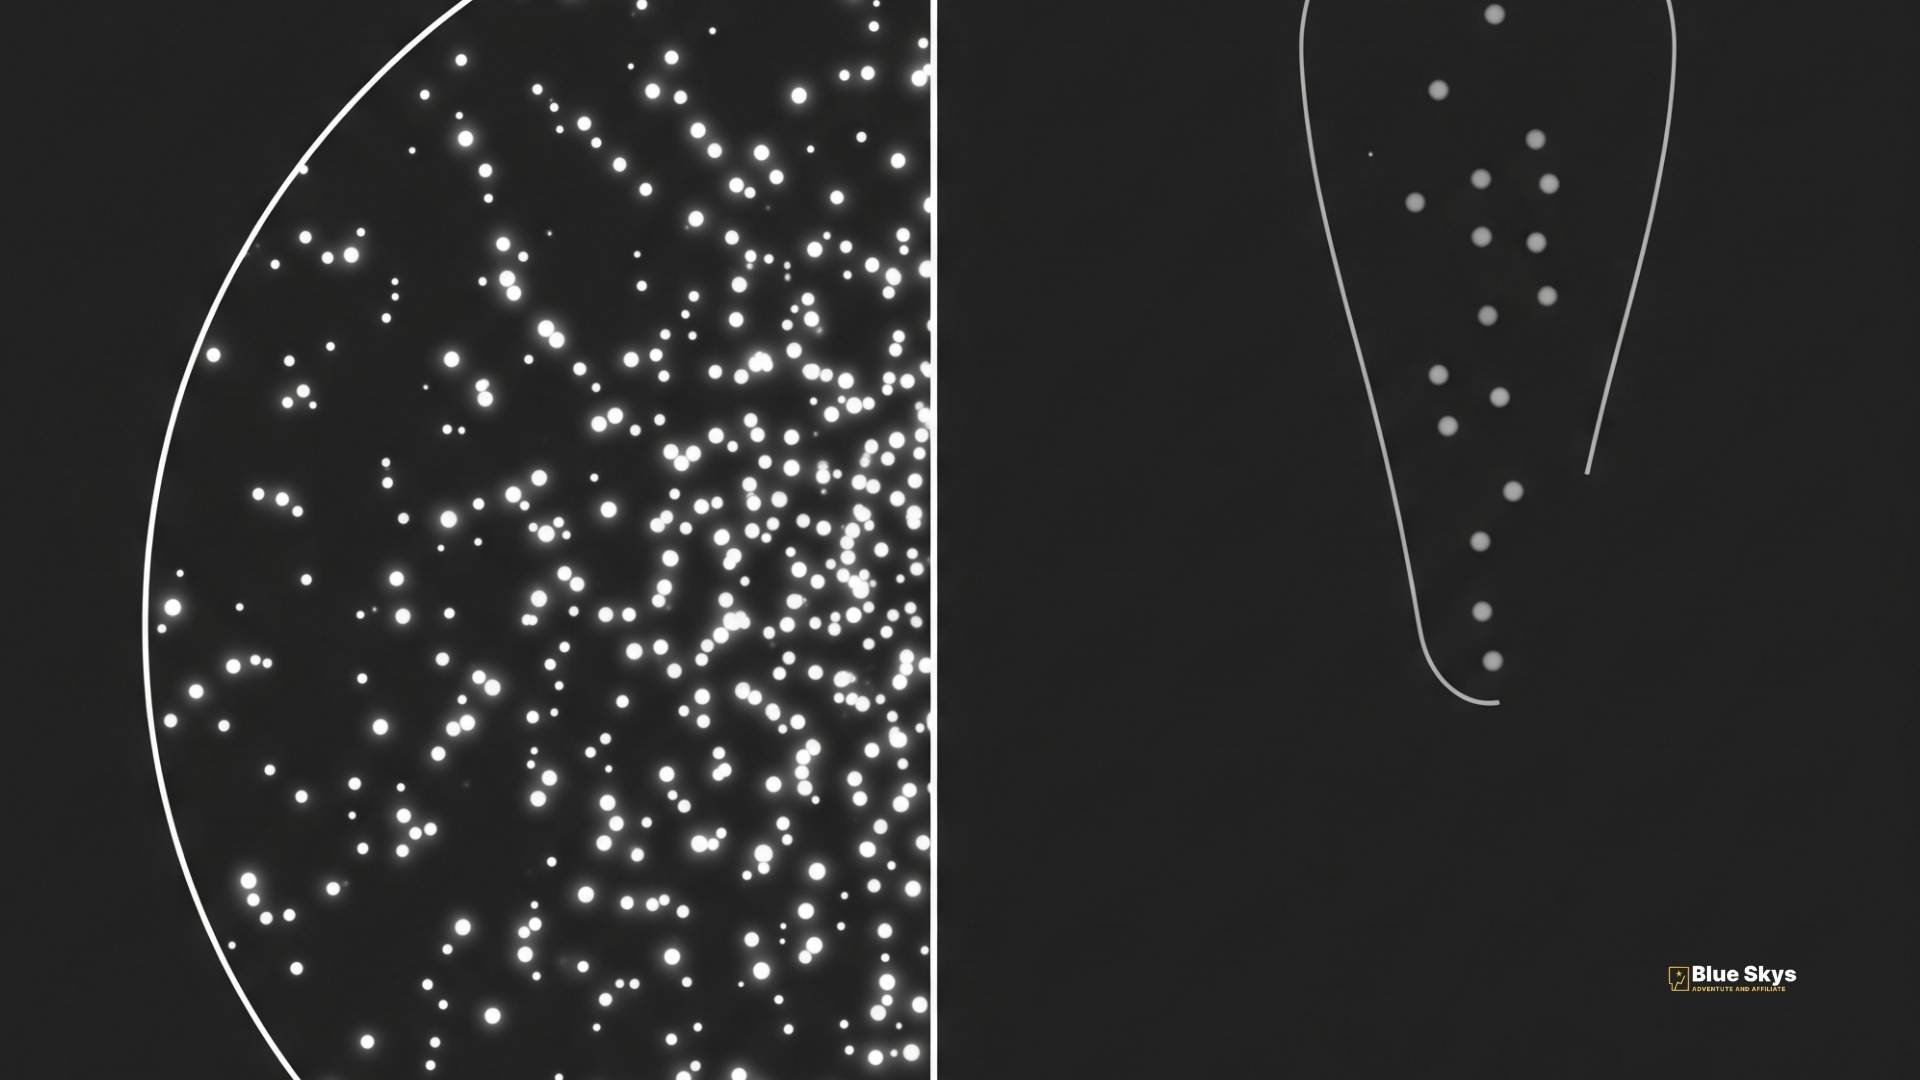
This is the biggest source of disappointment for new stargazers. Photos taken by the Hubble Space Telescope and other professional observatories are long-exposure images that have been edited and enhanced to show a galaxy’s vibrant colors. What you see with your eye through a telescope will be a much fainter, mostly monochromatic image.
The Fix: Set realistic expectations. Your view of a nebula will look more like a faint, ghostly cloud of light, not a colourful, detailed cosmic painting. Once you adjust your expectations, you’ll be amazed by the subtle, beautiful details you can truly see. There is a deep satisfaction in knowing that the faint glow you are seeing with your own eyes has travelled millions of years through space.
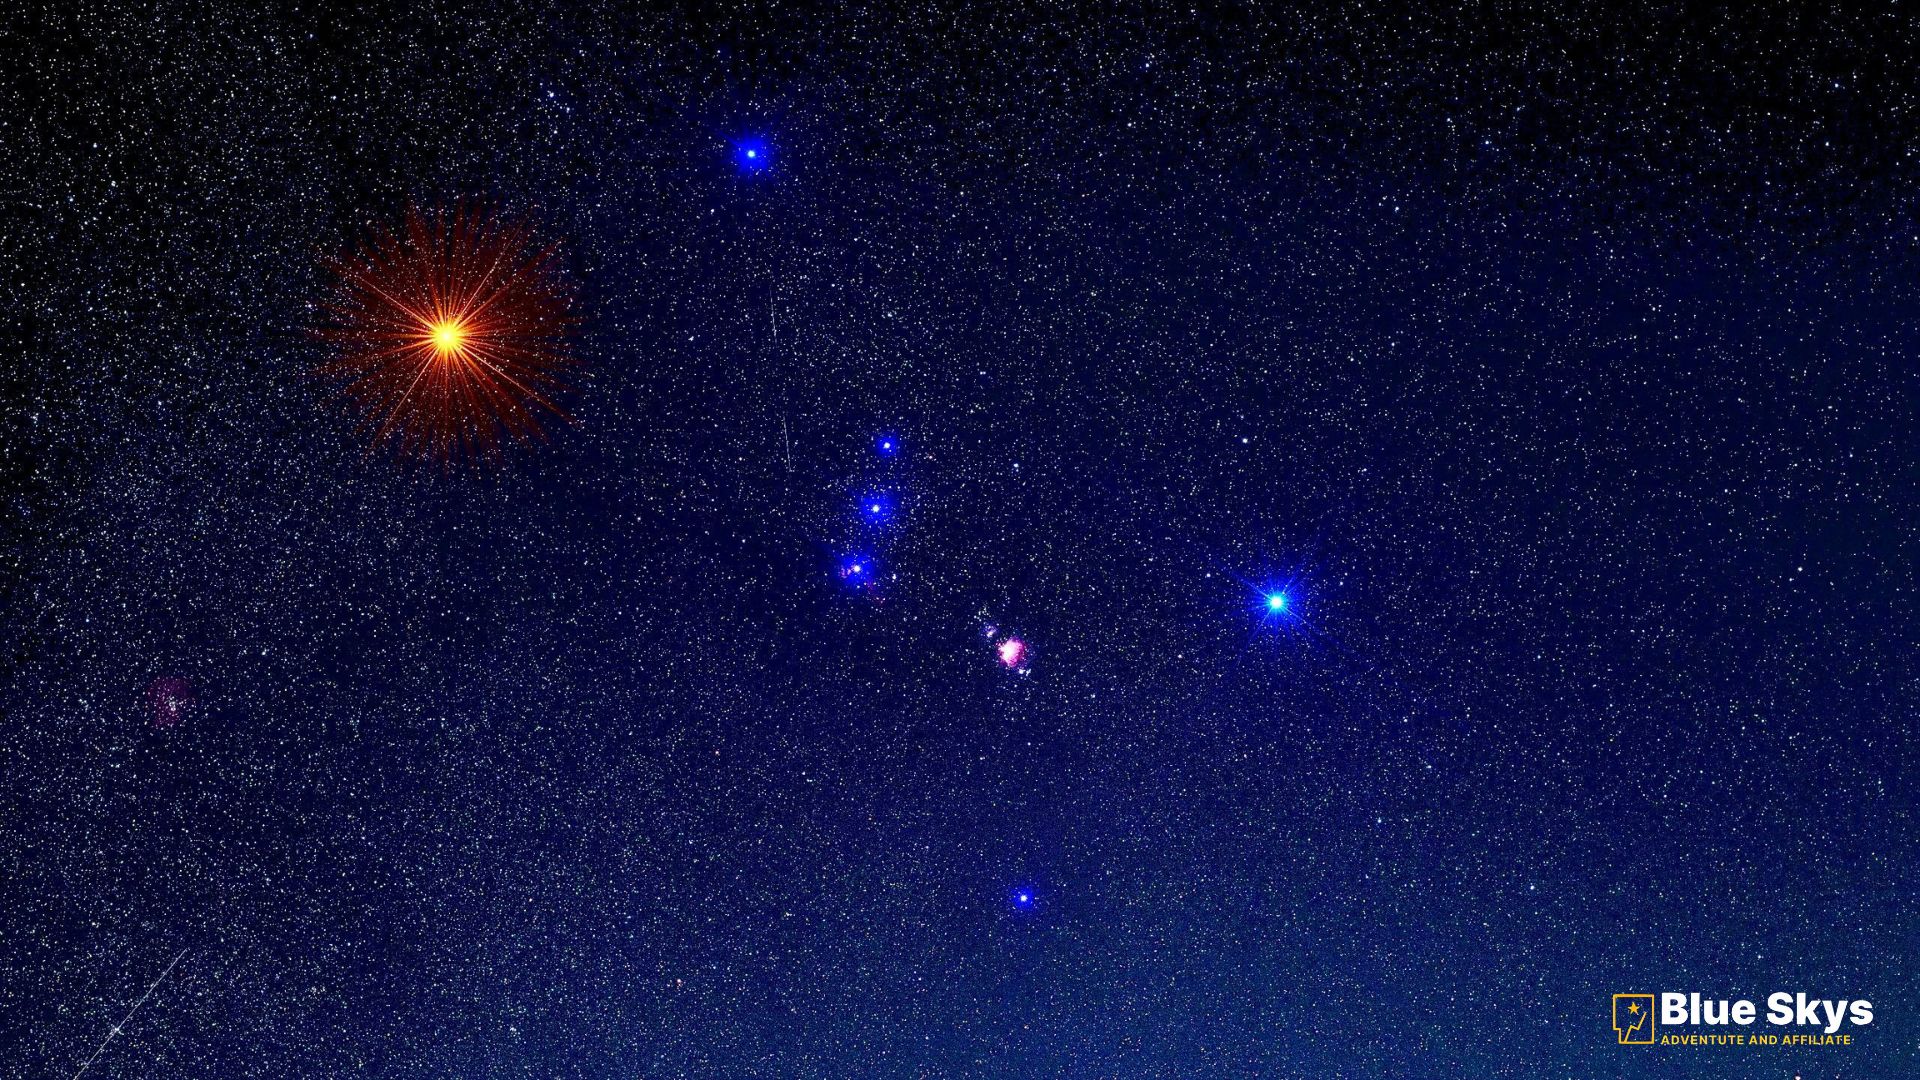
Mistake #5: Ignoring Your Environment
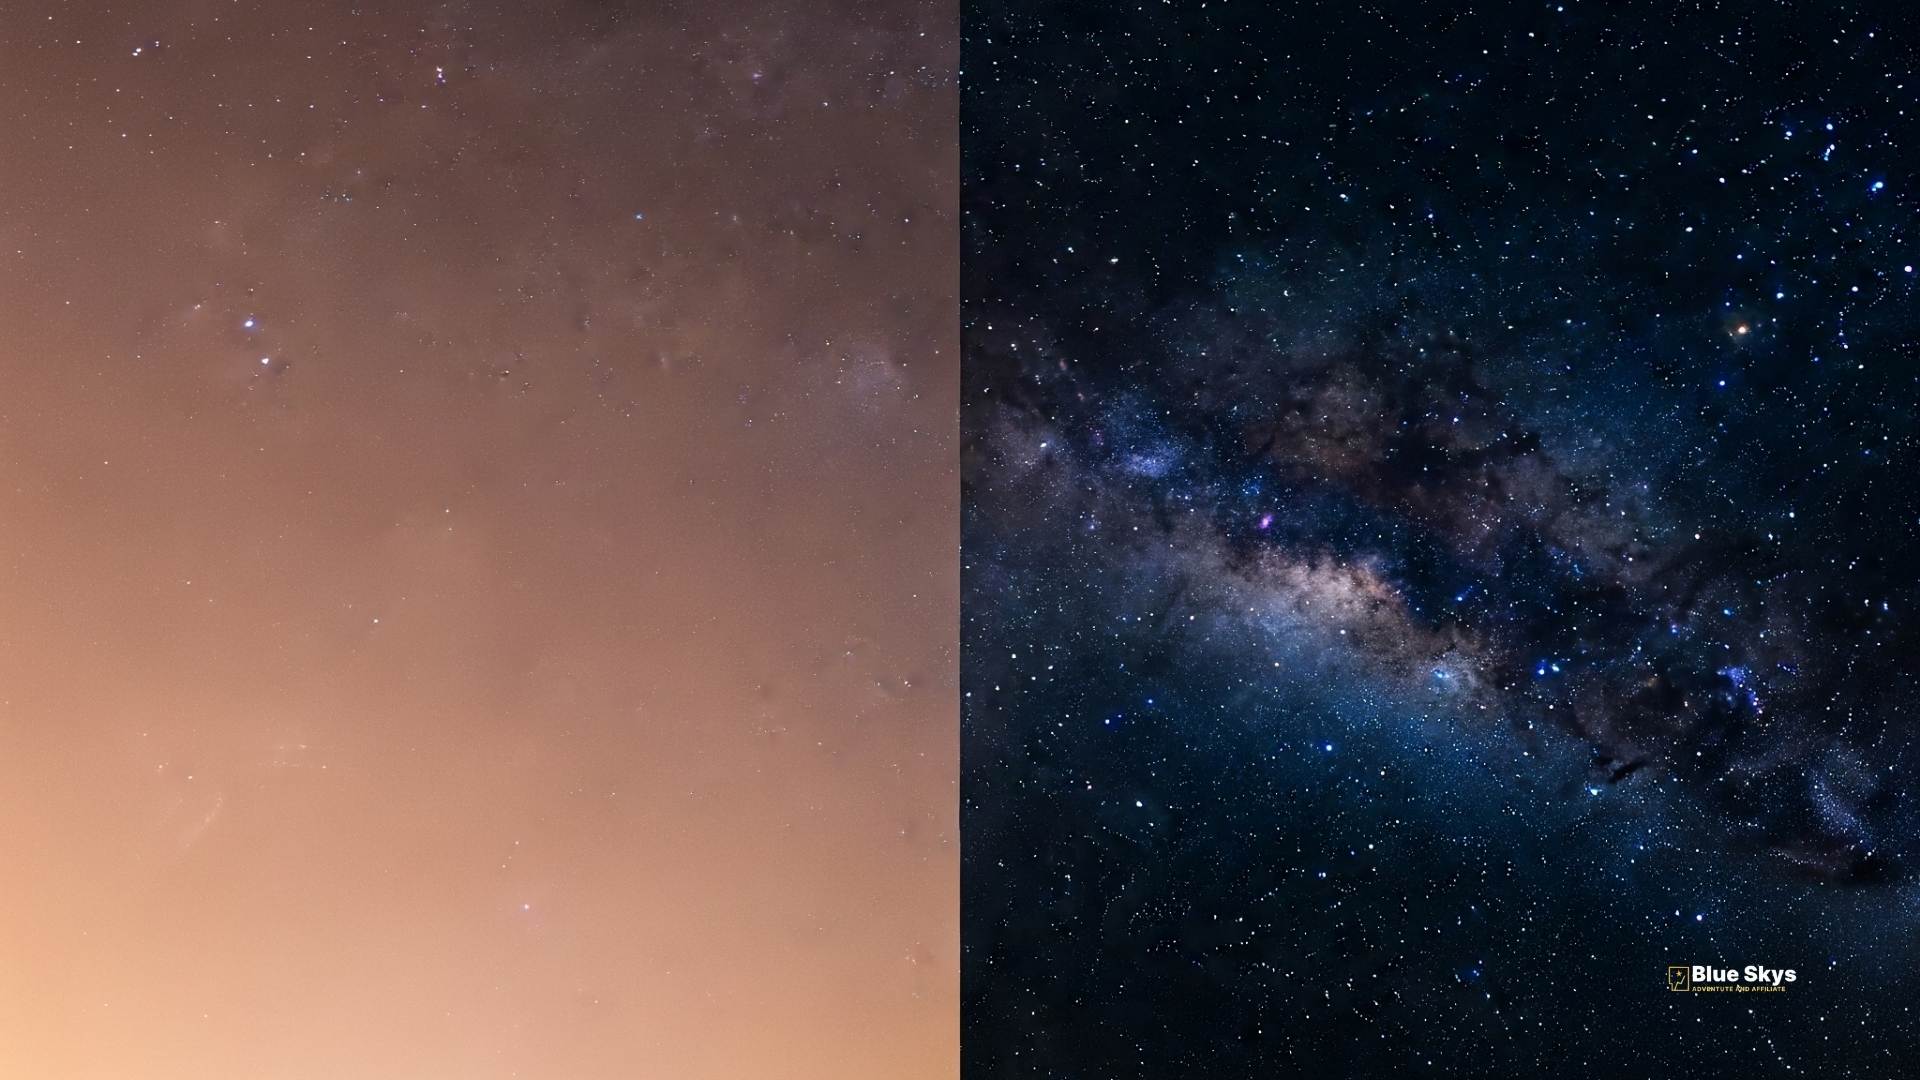
Your location has a profound impact on what you can see. If you live in a light-polluted city, the sky glow from streetlights and buildings will wash out all but the brightest objects, like the Moon and planets.
The Fix: The best way to combat light pollution is to get away from it. The ideal solution is to drive to a “dark-sky” location, but even moving to a local park or the darker side of your backyard can make a huge difference. You can also purchase a light pollution filter for your telescope, which can help a bit. The most important rule to remember is this: the best telescope is the one you will actually use.