A Note for Beginners: This guide is for stargazers who are ready to dive into the technical details. If you are brand new to the hobby, we highly recommend starting with our simpler, no-fuss guide first. [Absolute Beginner’s Guide here]
So you’ve started stargazing and now you’re looking for a telescope buyer’s guide that goes beyond the basics. Your first telescope may have shown you the Moon and a couple of planets, but now you want to see the faint, majestic nebulae or distant galaxies. This guide will break down the essential technical aspects of telescopes, their different optical designs, and the mounts that hold them. By the end, you’ll have a complete understanding of what to look for and how to choose the right gear for your personal journey through the cosmos.
Navigating Your Telescope Buyer’s Guide
The performance of any telescope, regardless of its design, comes down to three key factors: aperture, focal length, and the mount.
1. Aperture: The Light-Gathering Power
Aperture is arguably the most important number to consider. Put simply, aperture is the diameter of the main mirror or lens of your telescope. In fact, the larger the aperture, the more light the telescope can collect.
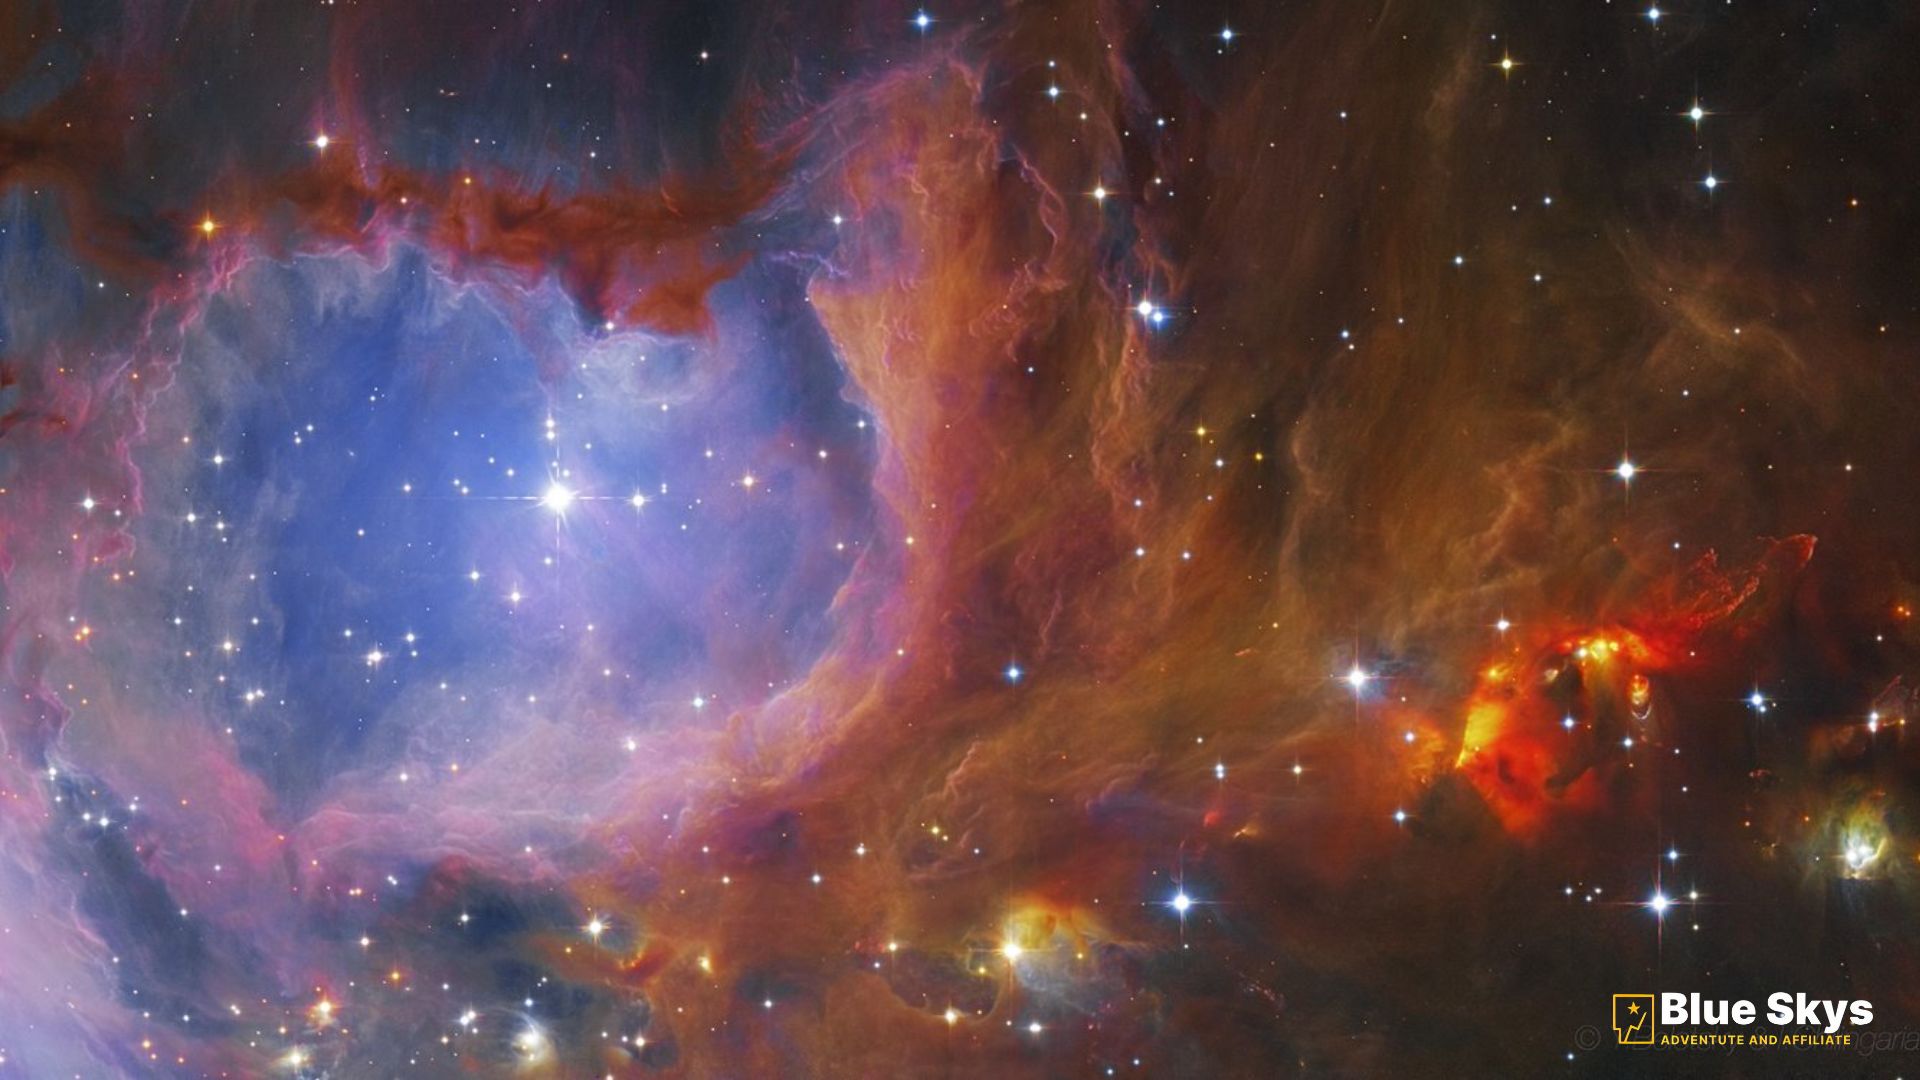
Why It Matters: More light means you can see fainter objects (like galaxies and nebulae) and resolve finer details on brighter objects (like planetary cloud bands). It is the single biggest factor in a telescope’s overall viewing power. A telescope with a 10-inch aperture, for example, will show you objects with much greater clarity and detail than one with a 4-inch aperture, regardless of the magnification.
Rule of Thumb: As an astronomer, I can tell you that a beginner’s biggest mistake is obsessing over magnification. The real pro tip is to focus on aperture first, as it is the true key to revealing the cosmos.
2. Focal Length & Focal Ratio
Focal Length: This is the distance from the main mirror or lens to the point where the image is focused. A longer focal length, therefore, provides higher magnification and is generally better for viewing the Moon and planets. For instance, a telescope with a focal length of 1200mm will offer more powerful views than one with a 500mm focal length.
Focal Ratio (f/ratio): This is the focal length divided by the aperture (e.g., a 1200mm focal length and a 200mm aperture give you an f/6 ratio). It tells you how “fast” or “slow” your telescope is.
Fast Telescopes (f/4 to f/6): Best for wide-field views of galaxies and nebulae. They gather light quickly, making them ideal for astrophotography.
Slow Telescopes (f/8 and up): Best for planetary observation, providing sharp, high-contrast views.
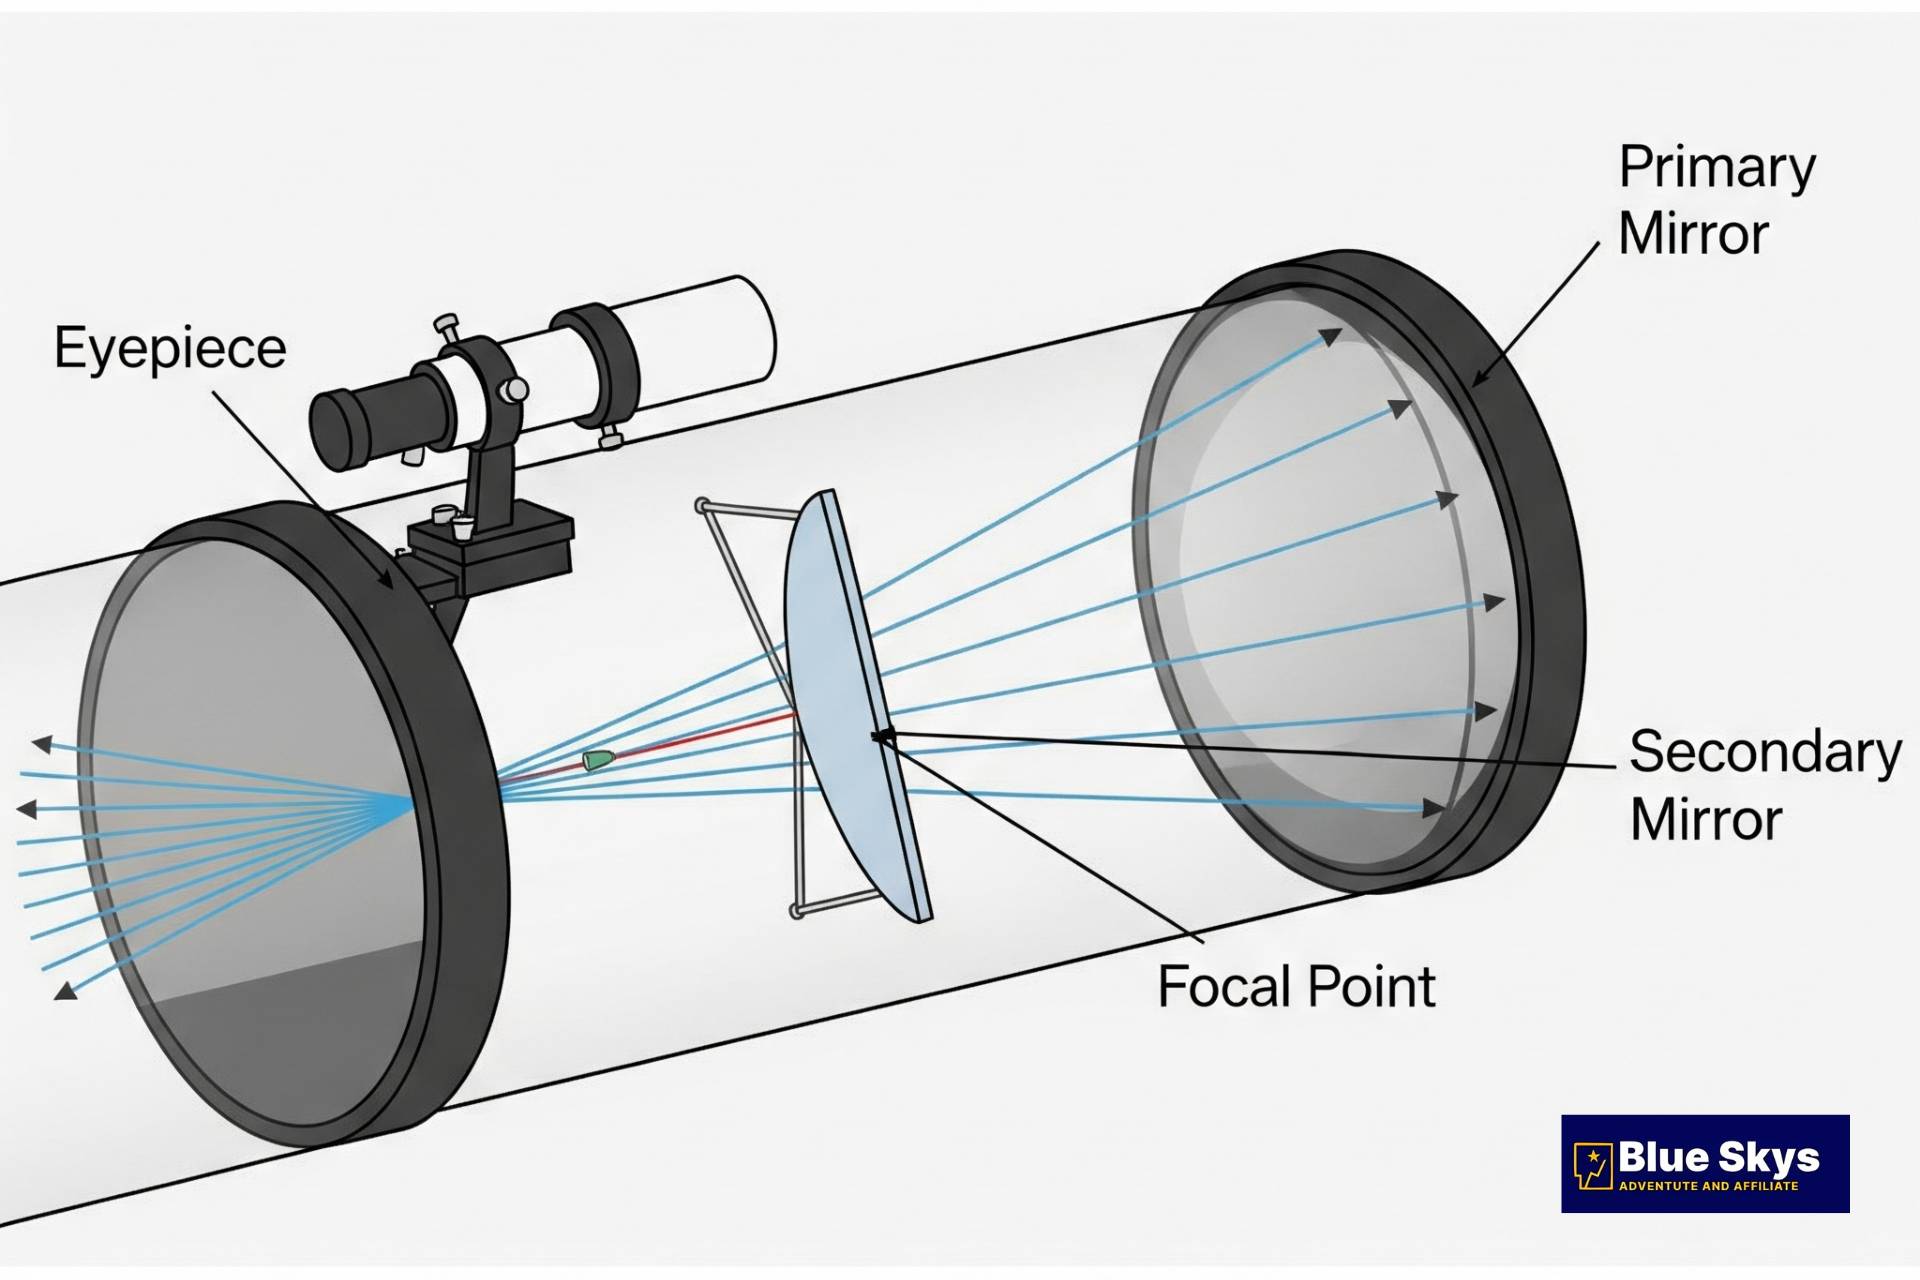
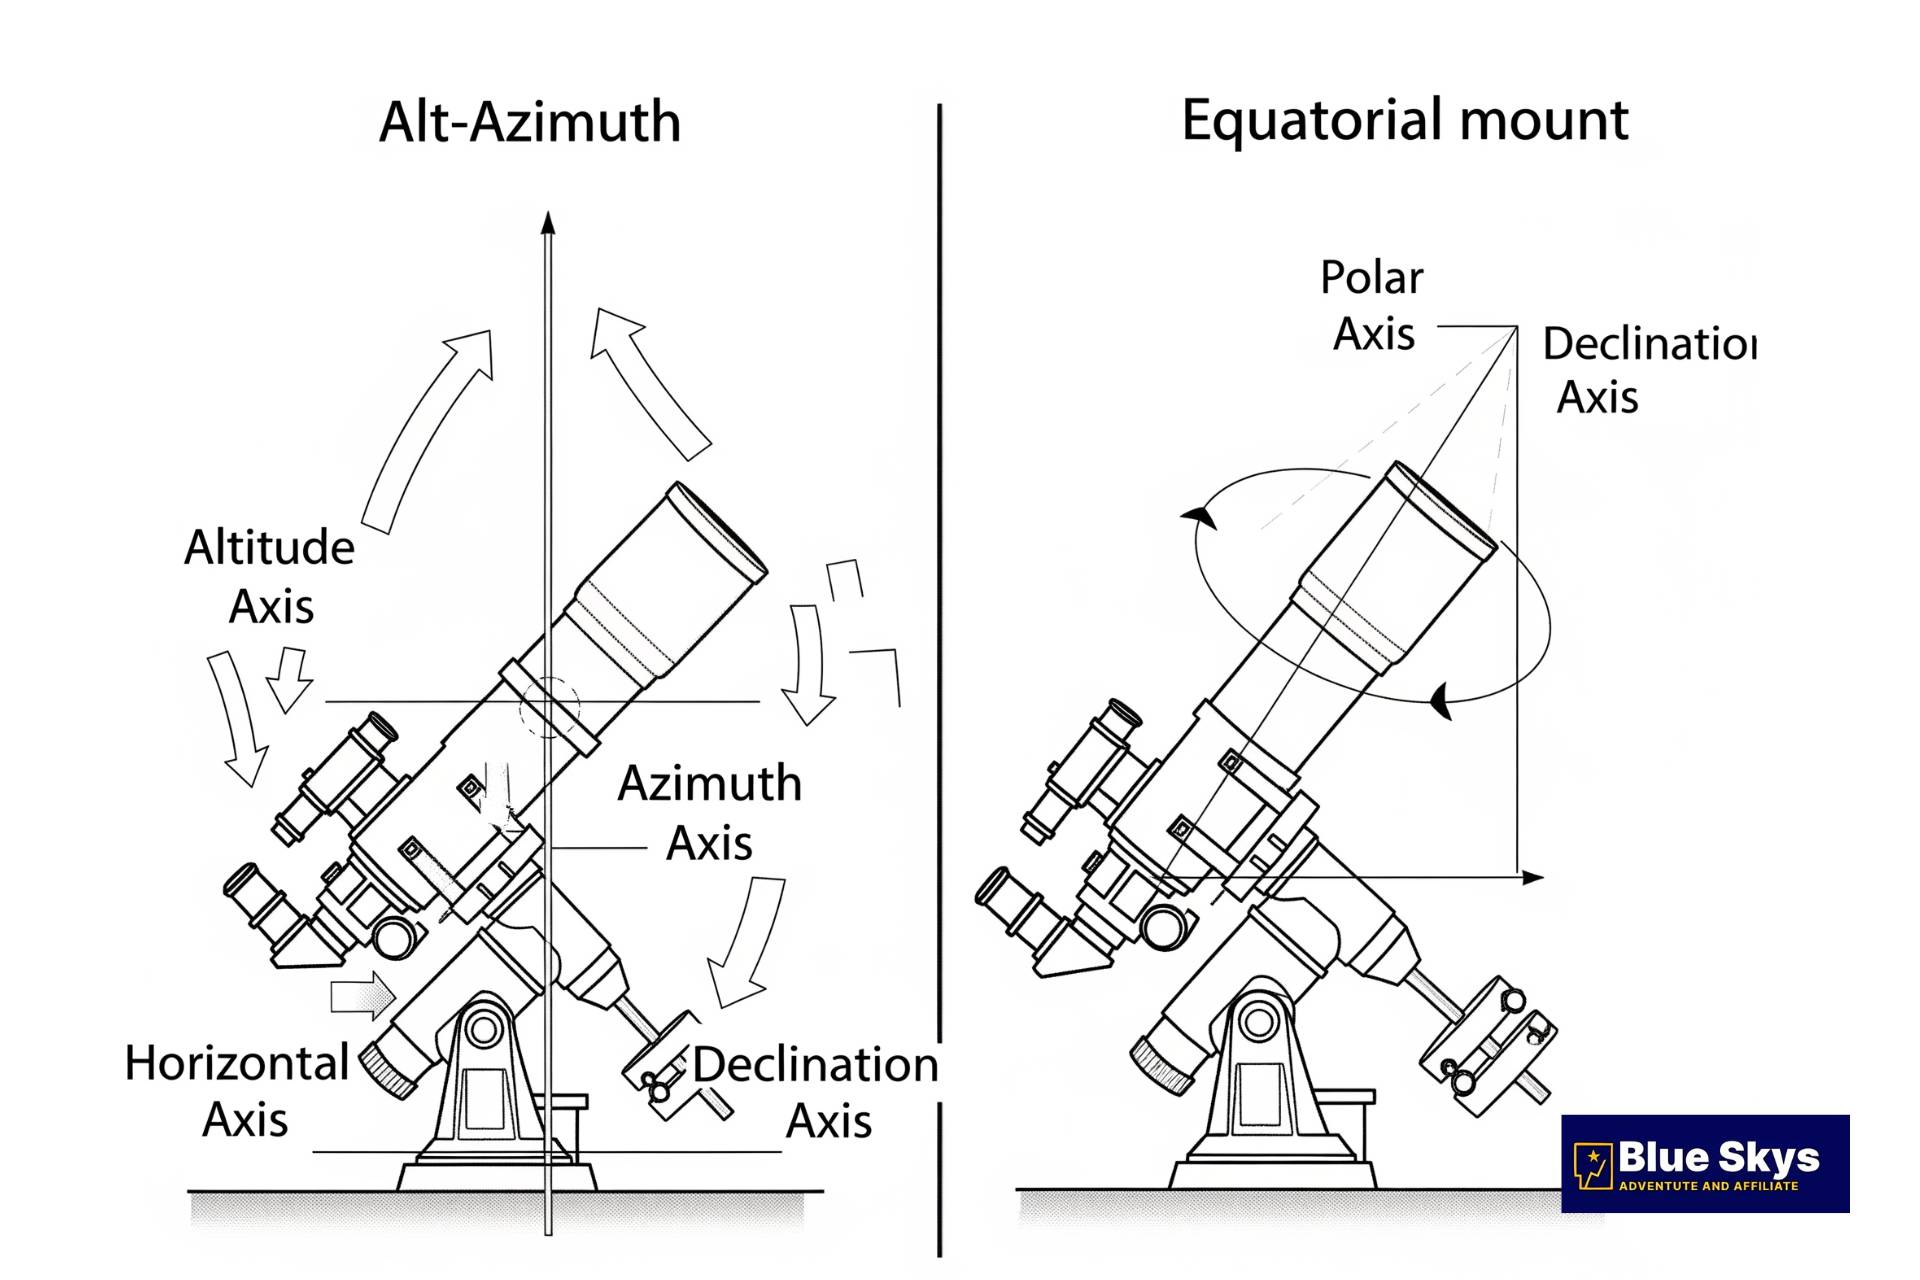
3. Telescope Mounts: The Foundation
A great telescope is useless on a flimsy mount. The mount is the stand that supports the telescope and allows you to aim and track celestial objects. For more information on what astronomers do, consider visiting the official NASA website.
Alt-Azimuth (Alt-Az) Mounts: These are the simplest mounts. They move in two directions: up-and-down (altitude) and left-and-right (azimuth). These are intuitive and perfect for visual observation of the Moon and planets, but they are not ideal for long-exposure astrophotography.
Equatorial (EQ) Mounts: These mounts are designed to track celestial objects as the Earth rotates. Once properly aligned, they allow you to follow an object with a single, slow-motion control, making them essential for long-exposure astrophotography. However, they are more complex to set up.
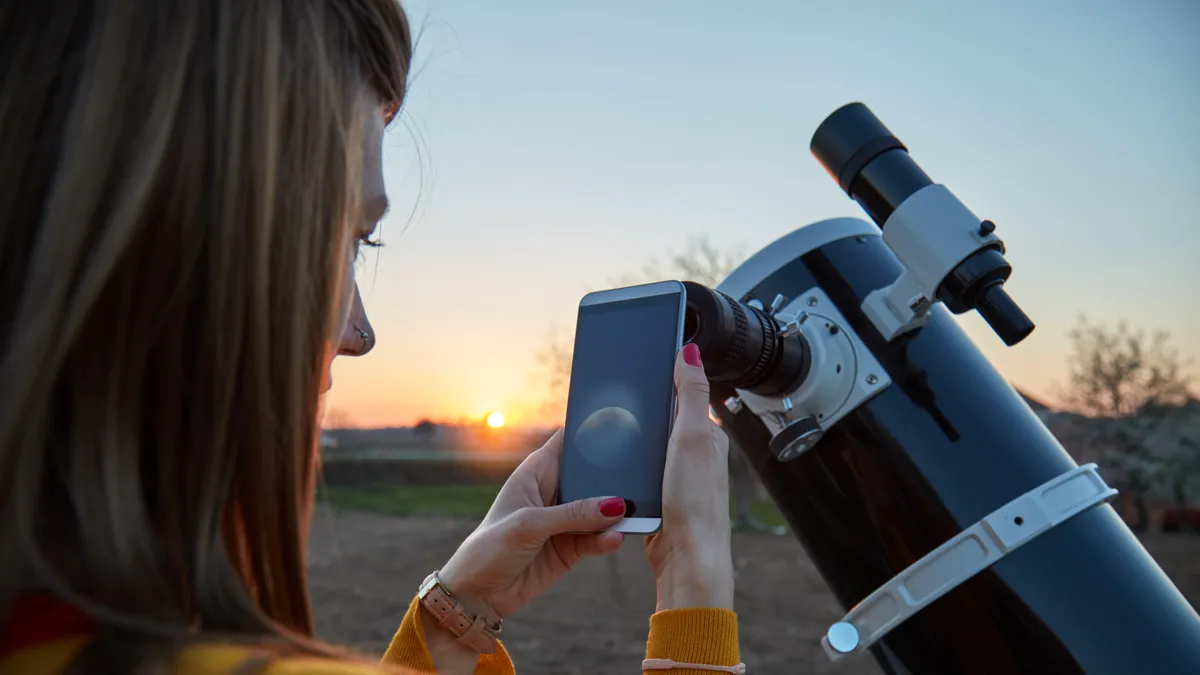
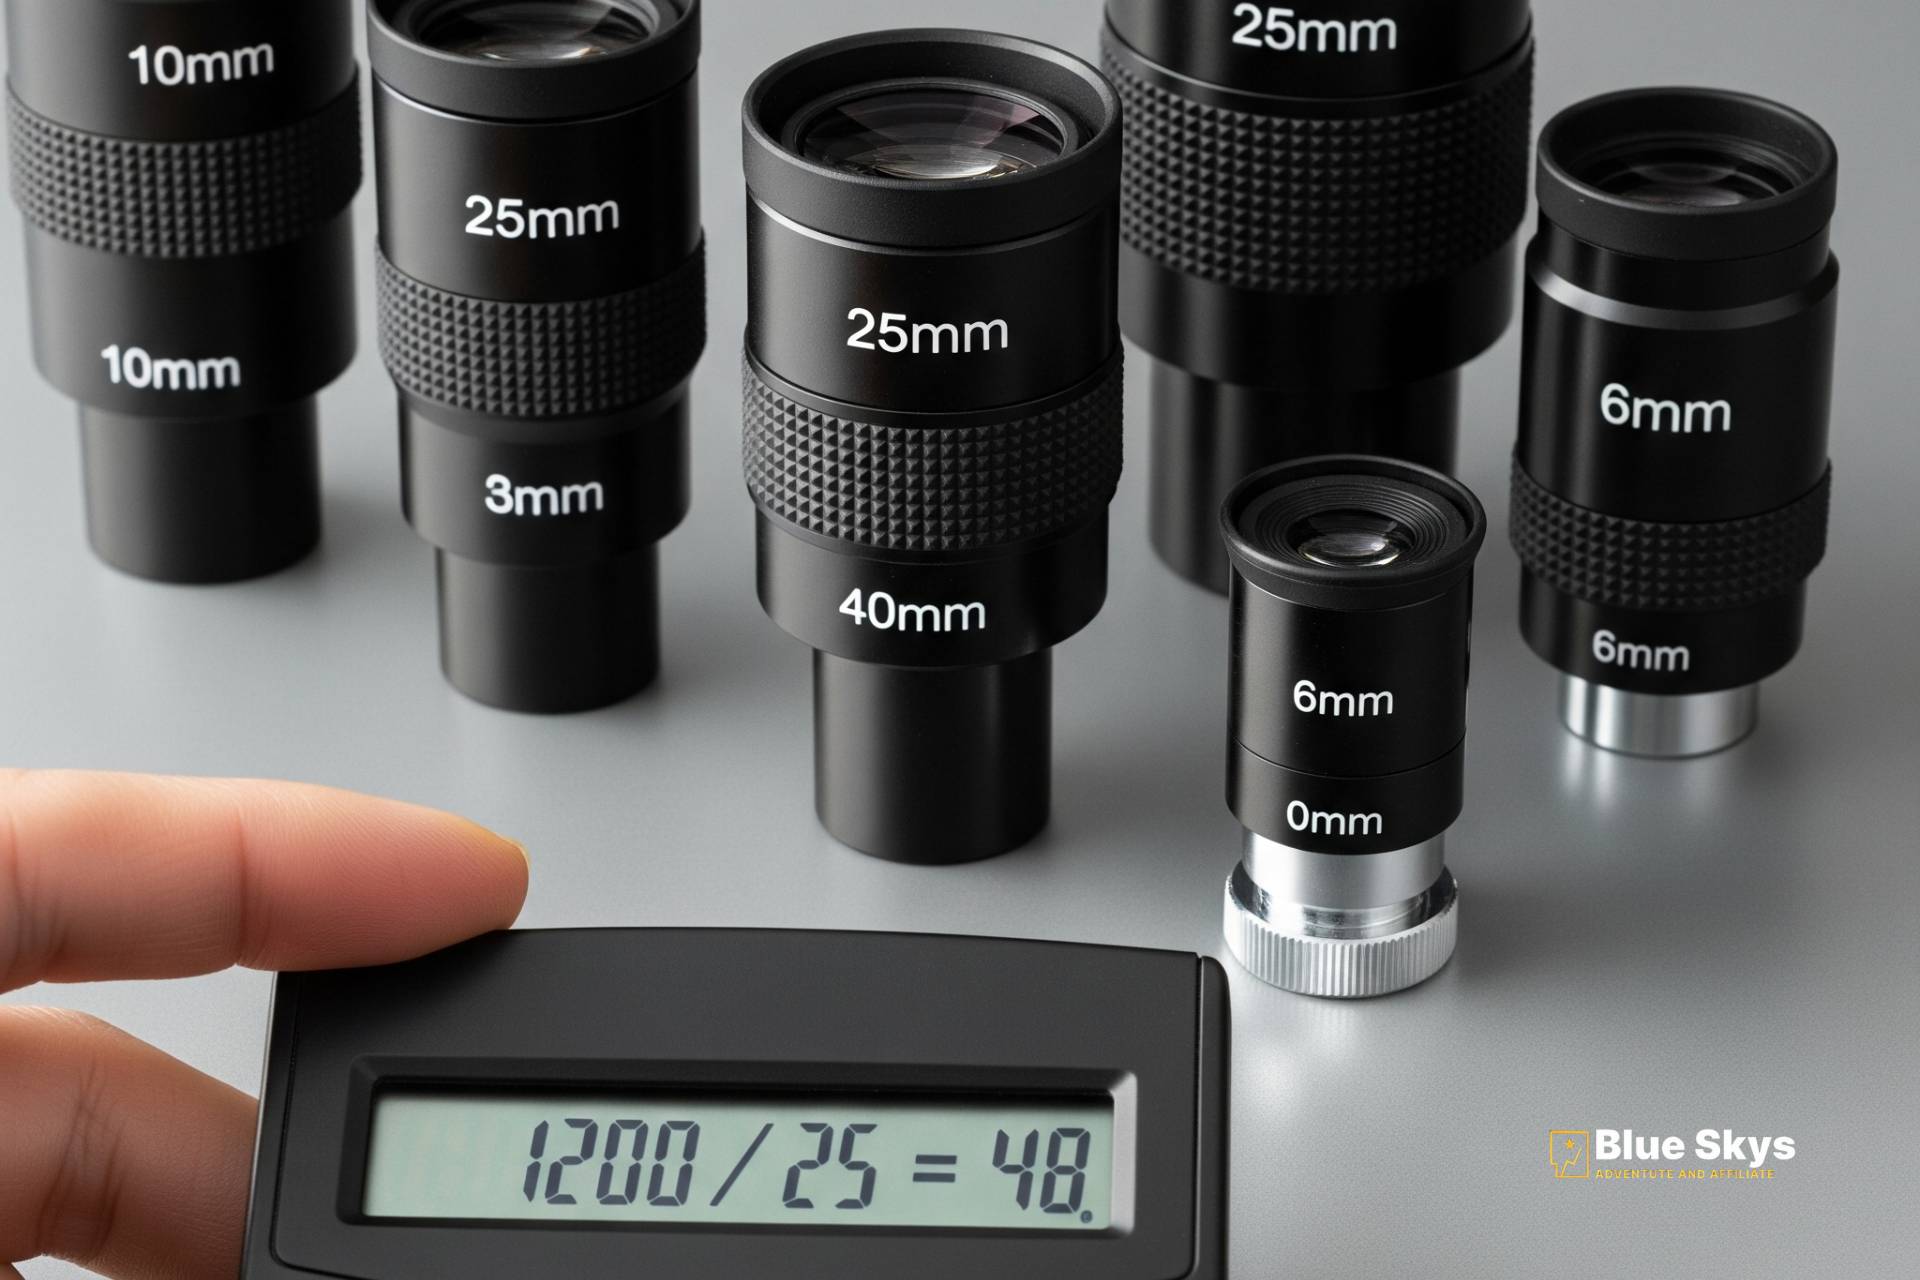
The Eyepiece: Your Window to the Cosmos
The eyepiece is a crucial component that can make or break your observing experience. The magnification of your telescope is calculated by dividing the telescope’s focal length by the eyepiece’s focal length. For instance, a telescope with a 1200mm focal length and a 25mm eyepiece gives you 48x magnification (1200 ÷ 25 = 48).
Pro-Tip: Every telescope has a maximum useful magnification, usually about 50x per inch of aperture. Going higher will just result in a blurry, dark image.
Navigating Modern Technology: Smart Telescopes
In 2025, the rise of “smart telescopes” like the ZWO Seestar S50 and Unistellar eVscope 2 has revolutionized the hobby. These all-in-one systems combine a telescope, mount, and a powerful camera. As a result, they use smartphone apps to automatically find, track, and image celestial objects for you. You can learn more about this cutting-edge technology from publications like Space.com.
Pros: They are incredibly user-friendly and make astrophotography accessible to everyone.
Cons: They are generally more expensive and offer less customization and raw power than a traditional setup. However, for a beginner who wants to jump straight into astrophotography, they are a powerful tool.
Your Final Decision: A Quick Guide
For Deep-Sky Enthusiasts: A large-aperture reflector telescope on a simple Dobsonian mount (like the Apertura AD8 or a Sky-Watcher Dobsonian) offers the best bang for your buck and will show you incredible details in galaxies and nebulae. When it comes to Planetary Observers, a refractor telescope with a long focal length will give you the crispest, most detailed views of planets and the Moon. For those interested in Astrophotography, you’ll want an equatorial mount and a “fast” telescope (low f/ratio). Consider a smart telescope for an all-in-one solution.